The Problem Nobody Talks About
You recorded the client walkthrough, the tutorial, the wedding speech. Now the file won't move. Email bounces it. The upload crawls. WhatsApp hands your recipient something blurry and grey.
Most guides answer this by telling you to drop to 720p. That works, and it also throws away half your picture. There is a better way to think about it — but it starts with being honest about what compression actually is.
"Without Losing Quality" Is the Wrong Goal. Here's the Right One.
All practical video compression is lossy. Data is discarded permanently. Anyone promising lossless results is either wrong or talking about a format so large it defeats the purpose of compressing at all.
The real goal is different, and much more achievable: discard the data your eye was never going to notice, and keep everything it was.
Modern encoders are extremely good at this. They spend bits where detail matters — faces, edges, motion — and starve the parts of the frame that are flat, dark, or moving too fast to register. Done properly, the file gets dramatically smaller and you cannot see the difference at normal viewing distance.
Done badly, you get blocky shadows, smeared motion and mushy text.
The difference is entirely in the settings. That is what the rest of this guide is about.
Why Your File Is Big Has Almost Nothing to Do With Resolution
This is the single most useful thing to understand about video files, and almost nobody explains it.
File size is roughly bitrate × duration. Bitrate is how much data the encoder spends on each second of video. Resolution decides how far that data has to stretch across the frame — it does not decide the size.
That is why:
- A 720p export and a 1080p export at the same bitrate come out roughly the same size
- A 4K movie can be smaller than someone's 1080p phone clip
- Two files at identical resolution and length can differ tenfold
The third factor is content complexity, and it explains the rest. Grain, rain, confetti, foliage, handheld shake and fast panning all cost a lot of bits. A static talking head, a screen recording of a slide deck, or a locked-off interview costs very few.
This is also why no honest tool can promise you a fixed percentage. A 2 GB screen recording and a 2 GB handheld 4K clip will not compress anything alike — which is exactly why the app estimates the result for your file rather than quoting an average.
The Workflow
Cut What You Don't Need (Pro)
Every second you remove is data you get back everywhere else. Thirty seconds at a given file size looks far better than two minutes squeezed into the same space — so if there's dead footage at either end, or a long pause in the middle, removing it is the cheapest quality win available.
Advanced Edit is a Pro feature. It lets you trim the head and tail, split the timeline into segments and delete dead sections in the middle, crop away letterbox bars or unused screen space, and burn in subtitles from an SRT — all in the same pass as the compression, so the video is only encoded once.
On the free tier: trim first in Windows Photos or Clipchamp, save, then bring that file in to compress. It costs you an extra encode, which means a small extra quality loss — so trim generously in one go rather than going back and forth.
If you don't need to cut anything, skip straight to Step 2.
Add Your File and Choose the Goal
Drag the video in, or right-click it in File Explorer and use Open with. MP4, MOV, AVI, MKV, WEBM, WMV, M4V and FLV all open directly — including MOV files straight off an iPhone.
Under AI Smart Settings, pick the outcome you want rather than a number:
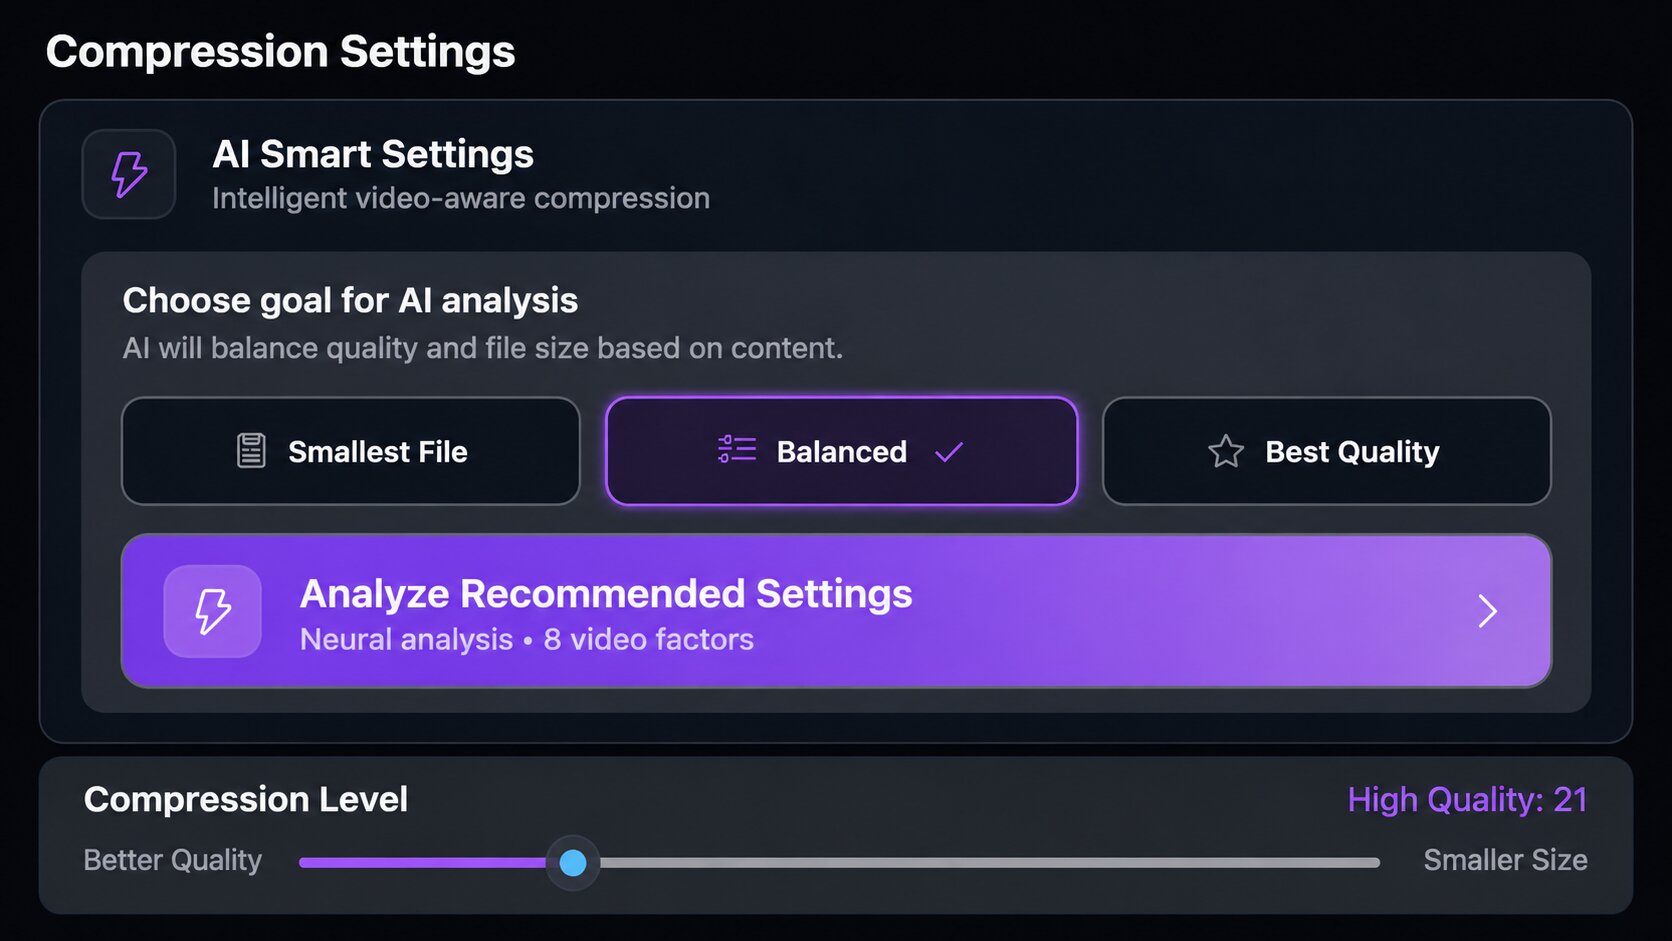
- Smallest File — when the size limit is non-negotiable
- Balanced — the default for most sharing
- Best Quality — keep it as close to the source as possible
Then hit Analyze Recommended Settings. The app reads your file's real metadata — duration, resolution, frame rate, source bitrate and several other factors — and proposes a compression level for that specific video, rather than applying the same preset to everything.
Read the Estimate Before You Encode Anything
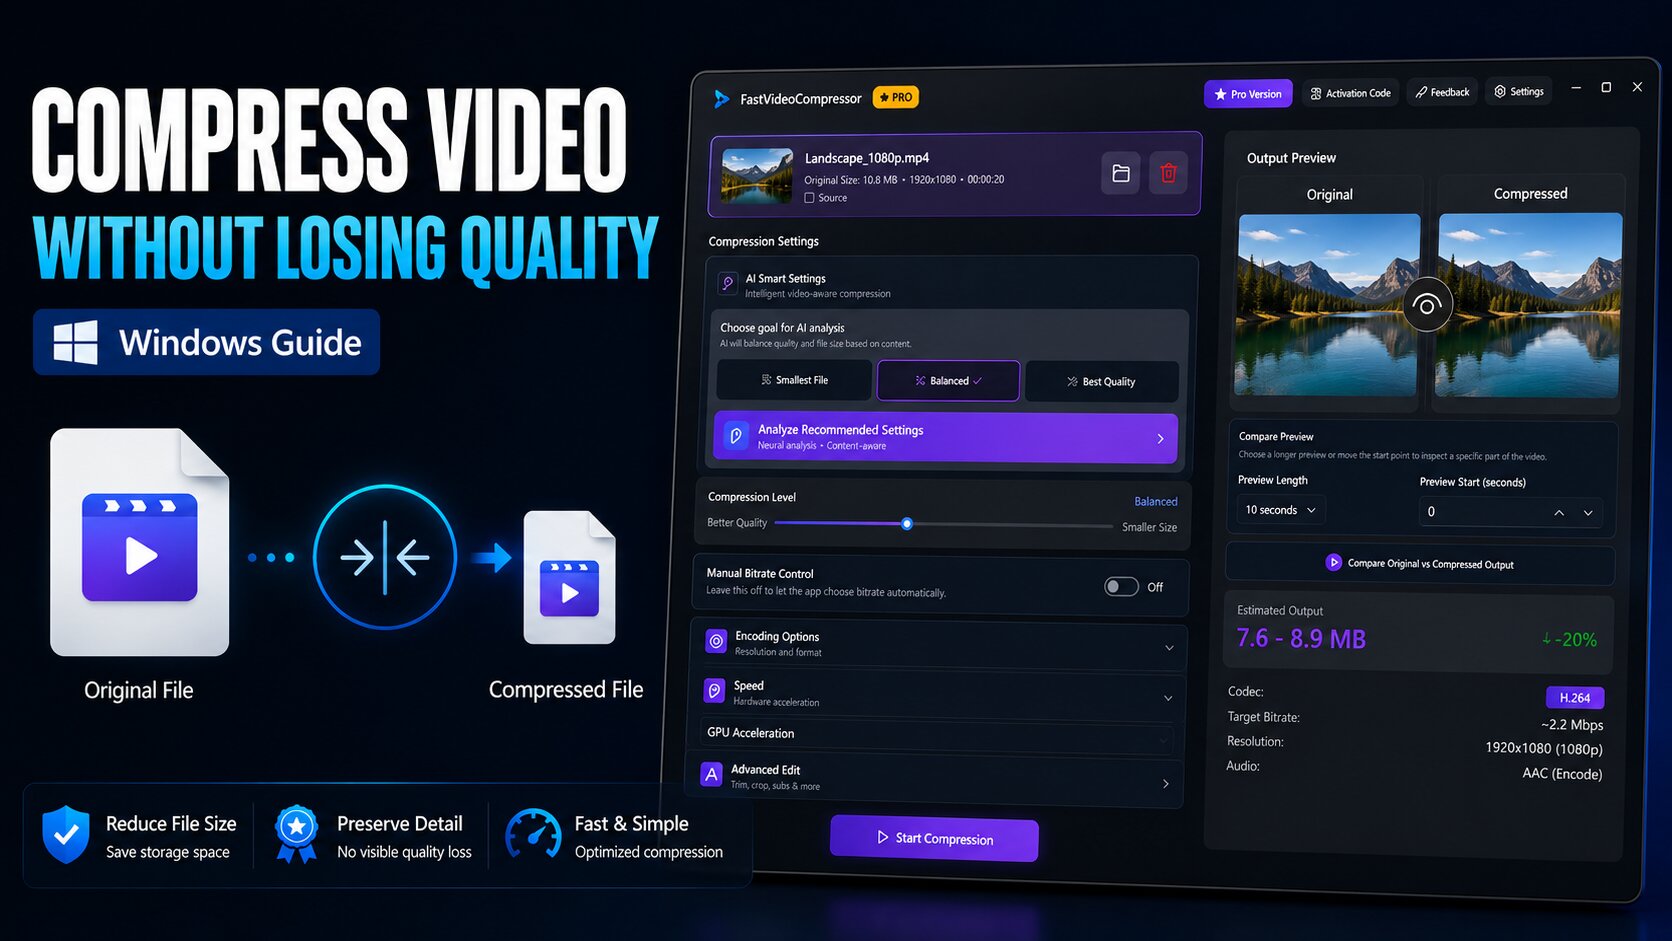
The Output Preview panel shows an estimated output size as a range, with the percentage reduction, alongside the codec, target bitrate, resolution and audio settings it intends to use.
A range rather than a single figure is deliberate. With quality-based encoding, the final size depends on what actually happens in the footage — so a single number would be a guess dressed up as a fact. When your file shows Precise Target in the list, it means the app successfully read that file's real metadata, so the estimate is calculated from actual numbers rather than assumptions.
This is the step that saves you re-encodes. If the estimate is already under your limit, go. If it isn't, adjust now rather than after twenty minutes of encoding.
Adjust, If the Estimate Isn't Where You Need It
Two controls, in order of preference.
The Compression Level slider runs from Better Quality to Smaller Size and maps to proper quality-based encoding modes — CRF for the software encoders, CQ, QP or global_quality for the hardware ones. That's why the result stays consistent from the first frame to the last, instead of falling apart during the busy scenes the way a fixed bitrate does. Nudge it and watch the estimate move.
Manual Bitrate Control is the one to reach for when you have a hard cap to hit — a 10 MB Discord upload, a 25 MB email attachment. Switch it on, set a target bitrate in kbps, and the estimate updates to match. Dial it until the projected size falls under your limit, then encode once instead of guessing three times. Leave it off the rest of the time and let the app choose from quality, resolution and format.
See the Result Before You Commit to It
This is the step that answers the question the whole article started with. Nobody can tell you in advance whether your video will hold up at a given setting — it depends entirely on your footage. So check it.

Compare Original vs Compressed Output plays your source and the compressed result side by side, at the exact settings you've dialled in, before you spend time on the full export.
Two things separate a useful check from a pointless one:
- Set the start point to the hardest moment in the video — the fast pan, the dark interior, the scene with fine text or heavy grain. Not the opening shot. Compression artefacts show up there first and often nowhere else.
- Give it enough seconds to judge. Motion problems need motion to become visible; a single frame won't reveal smearing or judder.
If it holds up there, it holds up everywhere. If it doesn't, go back to Step 4 and give it more quality — you've spent thirty seconds instead of a full encode.
Compress
Everything happens on your PC. Your video is never uploaded.
Recommended DownloadDownload Fast Video Compressor - Free for Windows 10 & 11Download freeWhat's in the Free Version, and What Isn't
Worth being straight about this before you download.
| Feature | Free | Pro |
|---|---|---|
| Output format | MP4 (H.264) | MP4, HEVC/H.265, AV1, WebM (VP9), WebP |
| Encoding | CPU (software) | GPU — NVIDIA NVENC, Intel Quick Sync, AMD AMF (CPU fallback) |
| Input file size | Up to 2 GB per file | No limit |
| Encoder speed presets | Fast and Medium | Full range |
| AI Smart Settings & size estimate | Yes | Yes |
| Manual bitrate control | Yes | Yes |
| Compare Original vs Compressed preview | Yes | Yes |
| Advanced Edit — trim, split, crop, subtitle burn-in | — | Yes |
| Batch processing | One file at a time | Yes — multiple files in one queue |
Three things follow from that table.
H.265/HEVC and AV1 are more efficient than H.264 — they reach similar quality at a smaller size. They're Pro features. On the free tier, H.264 in MP4 is what you have, and it's still perfectly capable; you just have less headroom before quality starts to show.
GPU encoding is about speed, not magic. It's dramatically faster and leaves your CPU free for everything else. At very tight bitrates, software encoding still tends to squeeze out slightly more quality per bit. For most sharing you won't see the difference. When you're fighting a hard size cap and have time to spare, it can matter.
Free is built for one file at a time. That's genuinely fine for the common case — you have a video, it's too big, you need it smaller. Pro is what you want when you're compressing a folder of clips rather than a clip, or when you need to cut the video and compress it in a single pass.
Who Is This For?
Screen Recorders
OBS, Zoom and Loom recordings are captured with settings tuned for safety, not delivery — which makes them some of the best compression candidates there are. Shrink them for sharing and storage instead of buying more cloud space.
Freelancers
Send draft videos to clients over Slack, email or WhatsApp without hitting size limits — and without putting unreleased client work on a stranger's server.
Phone Video Editors
Move 4K mobile footage onto Windows without filling the drive before you've started editing. MOV files from an iPhone open directly.
Anyone With a Full Drive
Old recordings, exported projects and phone transfers are usually encoded far more generously than they need to be for storage. Free handles them one at a time; Pro queues a whole folder and works through it unattended.
Will This Work on My PC?
- Windows 10 version 1809 or newer, and Windows 11
- 32-bit, 64-bit and ARM64 — including Snapdragon laptops
- No GPU required — software encoding is available to everyone
- FFmpeg is bundled — nothing to install separately
- Installed from the Microsoft Store, so updates are automatic
- Available in English, French and German
3 Mistakes That Quietly Ruin Your Video
Mistake 1 — Uploading Private Footage to a Site You Know Nothing About
Screen recordings contain dashboards, client names, open tabs. Phone clips contain faces, plates, addresses. Once a file is on someone else's server, retention and access are their policy, not yours. Compressing locally removes the question entirely — your video never leaves the machine.
For transparency: the app does contact the network for licensing, Microsoft Store pricing and update checks. Your video is not part of that.
Mistake 2 — Compressing an Already-Compressed File
Every lossy pass throws away detail permanently — and the next pass has to spend bits encoding the previous pass's artefacts as though they were real content. Losses stack faster than people expect. Always start from the highest-quality original you still have, never from something you already sent through WhatsApp or downloaded back off Discord.
Mistake 3 — Compressing Before Uploading Somewhere That Re-Encodes Anyway
YouTube re-encodes every upload into multiple variants regardless of what you send, and its published bitrates are floors, not ceilings. Compressing hard first just gives their encoder less to work with. Compress for sharing, email, messaging, embedding and storage — don't compress a YouTube master.
Frequently Asked Questions
Does compressing a video always reduce quality?
Technically yes — all practical video compression is lossy, so some data is permanently discarded. But "reduced quality" and "visible quality loss" are different things. At a sensible setting, the discarded data is information your eye wasn't using, and the result is indistinguishable at normal viewing distance. The way to know for certain on your own file is to check the before/after comparison before exporting.
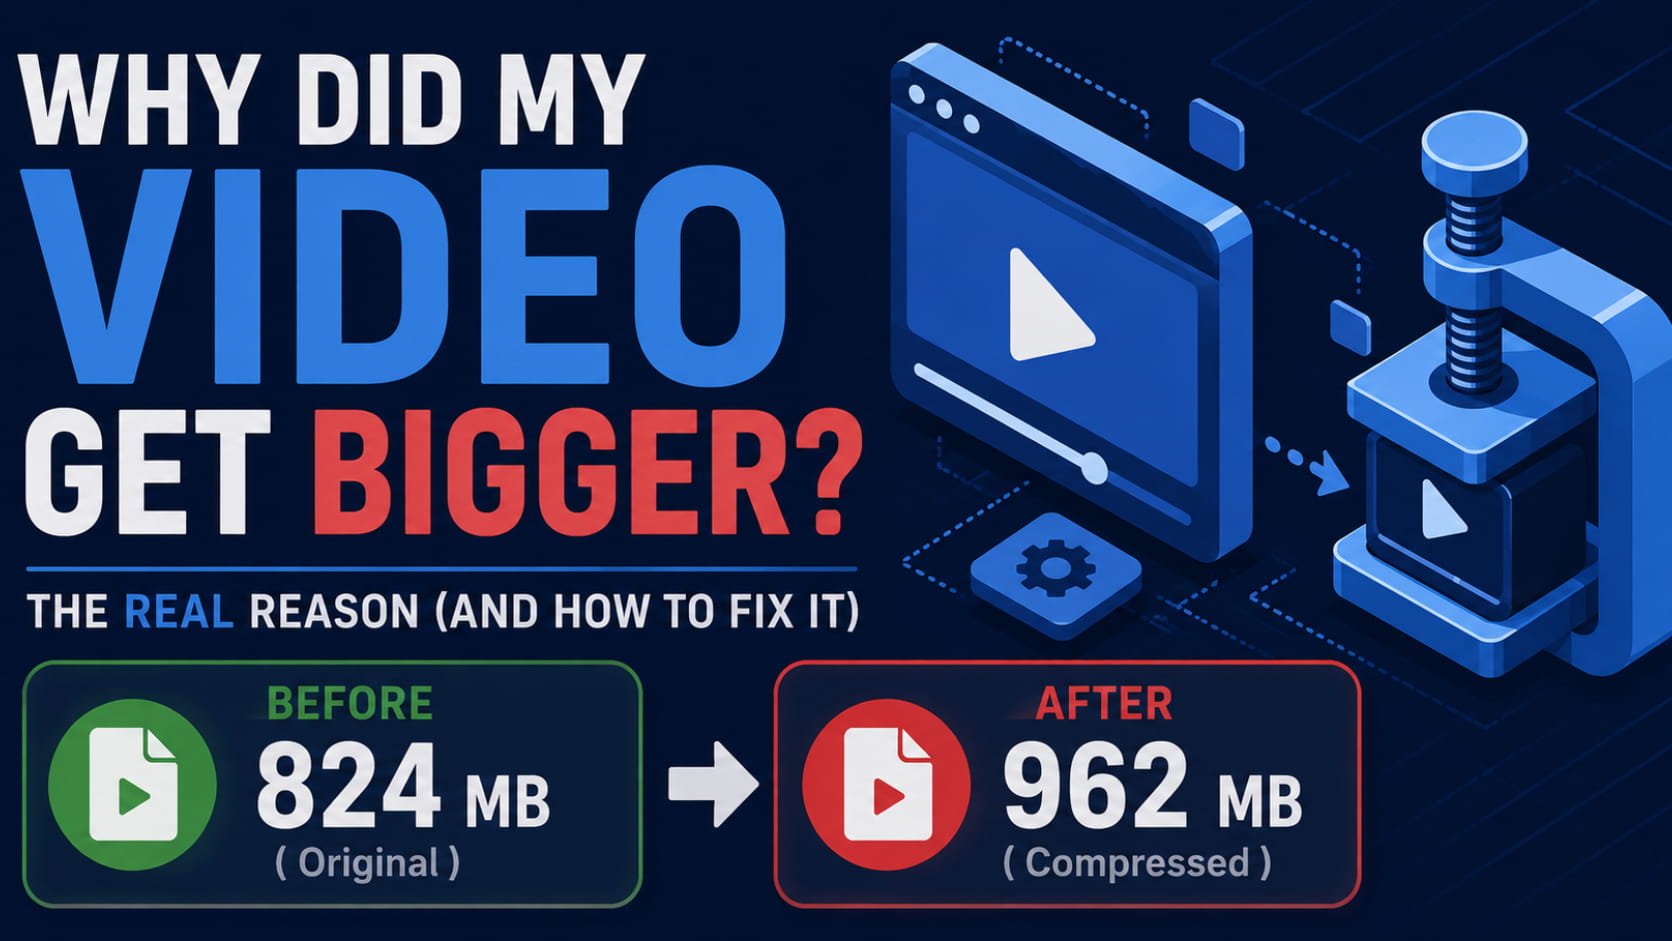
Why did my compressed video come out bigger than the original?
Almost always one of four causes: the source was already efficiently encoded and you asked for a higher quality than it had; you re-encoded a low-bitrate file at a fixed high bitrate; you switched to a less efficient codec; or a container or audio setting added data. Check your source file's existing bitrate before choosing a target — if you're asking for more than it already has, the file will grow.
Should I lower the resolution or the bitrate?
Bitrate first, in most cases. But there's a threshold: below a certain bitrate, 1080p simply doesn't have enough data to look sharp, and dropping to 720p produces a visibly better result at the same file size. If you're squeezing a clip under 10 MB, 720p is usually the right call.
Is H.265 better than H.264?
More efficient, yes — it reaches similar quality at a smaller size. But H.264 plays on essentially everything, while H.265 needs a decoder that Windows doesn't always include and that browsers support inconsistently. Use H.265 for files you're keeping; use H.264 for files you're sending to someone whose setup you don't control.
How long does compressing a video take?
It depends on the source length and resolution, the codec, the speed preset, and whether you're using CPU or GPU encoding. GPU encoding is substantially faster and leaves your CPU free. More efficient codecs like H.265 and AV1 take longer than H.264 at the same speed preset — that's the trade for the smaller file.
Are online video compressors safe?
It depends what's in the video. For a holiday clip, a reputable online tool is fine. For anything containing client work, personal identifiers, or a screen recording of internal systems, the file leaves your machine and its retention becomes someone else's policy. A desktop app avoids the question entirely.
The Bottom Line
A large video file is rarely a problem with your footage. It's a bitrate that was set for capture, not for sharing — and nothing has re-thought it since.
To compress well on Windows:
- Cut dead footage before you compress — it buys quality everywhere else
- Leave resolution alone — unless you're at a very low bitrate, where 720p genuinely beats a starved 1080p
- Let a quality-based setting do the work; reach for manual bitrate only when you have a hard cap
- Read the estimate before you encode, not after
- Compare against the original on your hardest scene
- Compress once, from the original
- Keep private footage on your own machine